
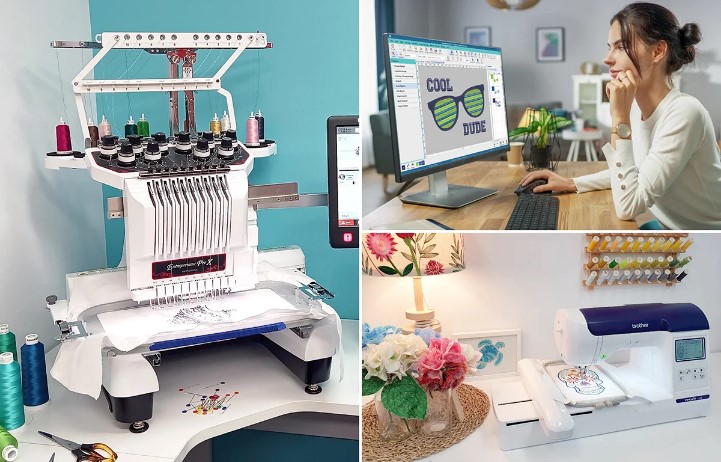
Embroidery is fun. It turns a plain piece of cloth into art. Many people love using Babylock machines because they are strong and easy to use. But even the best machine needs the right design file. If the file is not ready, the stitch may look rough. Threads may break. The design may shift or bunch up.
Many beginners try to stitch a design right away. They load the file and start the machine. But embroidery does not work like that. The design must match the machine. The size, stitch type, and path all matter. If you plan well, your Babylock machine will run smooth and give clean results.Many people search online to Convert Embroidery Files for Babylock when their design will not load or stitch well. This step is very important. Babylock machines use special file types. If the design is not in the right format, the machine cannot read it well. When the file is prepared the right way, the stitches become neat and smooth.
In this guide, you will learn easy ways to make embroidery designs work better on Babylock machines. These tips come from real shop work and daily use of embroidery tools. They will help you save time, avoid thread breaks, and get clean designs every time.
Why Design Preparation Matters
A Babylock machine is smart. But it still needs the right input. Think of it like a printer. If the file is wrong, the print will be wrong too.
Embroidery designs are made of stitches. Each stitch tells the needle where to go. If the design has too many stitches, the fabric may pull. If it has too few stitches, the design may look thin.
Good design setup helps with:
Smooth stitching
Clean edges
Less thread breaks
Better fabric support
Faster machine run time
When the design is ready, the machine works like a dream.
Know Your Babylock File Format
Babylock machines usually use PES files. This format stores stitch paths, color steps, and design size.
If your design is in JPG, PNG, or SVG, it cannot stitch directly. These are image files, not stitch files. They must be digitized first.
Digitizing means turning a picture into stitches.
A good stitch file tells the machine:
Where to start
Where to stop
What stitch type to use
When to change color
Without this step, the machine cannot create the design.
Start with a Clean Image
Why a Clear Image Helps
A messy image makes a messy stitch file. If the image has blur, noise, or too many colors, the digitizing process becomes hard.
Always start with a clean image.
Good design images should have:
Clear lines
Solid shapes
Simple colors
Avoid tiny text or very thin lines. These details may not stitch well.
Best Image Types for Digitizing
Vector images are best. They scale well and stay sharp.
Examples include:
AI
EPS
SVG
High-quality PNG images can also work.
Choose the Right Design Size
Size is very important in embroidery.
A design that looks great on a screen may not work on fabric if it is too small or too large.
Small Designs
Tiny designs can cause problems. Small letters and shapes may lose detail.
Tips for small designs:
Use thicker lines
Avoid tiny text
Use simple shapes
Large Designs
Big designs may need more stitches. This can slow down the machine and stress the fabric.
Tips for large designs:
Break the design into parts
Use fill stitches wisely
Watch stitch count
Balance is the key.
Use the Right Stitch Types
Different parts of a design need different stitches.
Each stitch type has its own purpose.
Running Stitch
This stitch is simple. It works well for outlines and fine details.
Benefits:
Uses less thread
Runs fast
Good for small shapes
Satin Stitch
Satin stitch is smooth and shiny. It is great for letters and borders.
But it works best for medium shapes.
Too wide satin stitches may snag.
Fill Stitch
Fill stitches cover big areas. They create texture and depth.
Good digitizing controls:
Stitch angle
Density
Pattern
These settings help the design look smooth.
Keep Stitch Density Balanced
Density means how close the stitches are.
Too dense and the fabric may pucker.
Too light and the design may look weak.
A balanced density keeps the design neat.
Tips to control density:
Adjust based on fabric type
Use underlay stitches
Test the design first
Professional digitizers always test density before final stitching.
Use Proper Underlay Stitches
Underlay stitches sit under the main stitches. They help hold the fabric in place.
They also lift the top stitches.
Without underlay, designs may sink into the fabric.
Common underlay types:
Edge run
Zigzag
Tatami underlay
The right underlay makes a big difference in stitch quality.
Match the Design with the Fabric
Every fabric behaves in a different way.
A design that works on denim may fail on soft cotton.
Stable Fabrics
Examples include:
Denim
Canvas
Twill
These fabrics hold stitches well.
Stretch Fabrics
Examples include:
T-shirts
Knits
Sportswear
These fabrics need stabilizers.
Without support, the design may stretch or shift.
Use the Right Stabilizer
Stabilizer keeps the fabric firm while stitching.
It helps the needle move without pulling the cloth.
Common stabilizers include:
Cut-Away Stabilizer
Best for stretch fabrics.
It stays behind the design after stitching.
Tear-Away Stabilizer
Good for stable fabrics.
It tears away after the design is done.
Wash-Away Stabilizer
Used for lace or thin fabric.
It dissolves in water.
Using the right stabilizer keeps stitches neat.
Test the Design Before Final Stitching
Never skip the test run.
Even good designs need testing.
A test helps you see:
Thread tension
Stitch flow
Design balance
Use scrap fabric that matches your final fabric.
If something looks wrong, adjust the file.
Small fixes now can save a lot of time later.
Keep the Stitch Count Reasonable
Too many stitches slow down the machine.
They also increase thread breaks.
Good designs keep stitch counts balanced.
Ways to reduce stitch count:
Remove extra overlaps
Simplify fills
Use smart pathing
Clean designs always run smoother.
Organize Color Changes
Many designs use many colors.
But too many color stops slow the machine.
Smart digitizing groups similar colors together.
Benefits include:
Faster stitching
Less thread waste
Easier machine control
Simple color planning saves time.
Maintain Your Babylock Machine
Even the best design will fail on a poorly maintained machine.
Regular care keeps the machine running well.
Basic Maintenance Tips
Clean the machine often.
Remove lint from the bobbin area.
Oil the machine if the manual suggests it.
Change the needle often.
A dull needle can ruin stitches.
Work with Skilled Digitizers
Sometimes a design is complex.
It may have fine detail or special textures.
In these cases, professional help is smart.
Experts understand stitch paths, density, and fabric behavior.
This is where Embroidery Digitizing Services in USA – Digitizing Buddy can help. Their team works with many machine types, including Babylock machines. They prepare designs so they stitch clean and smooth.
Professional digitizing saves time and reduces trial and error.
Learn from Real Stitch Experience
Embroidery skill grows with practice.
Each design teaches something new.
Many shops learn by testing designs again and again.
At Embroidery Digitizing Services in USA – Digitizing Buddy, real machine tests are a big part of the work process. Designs are checked before delivery. This helps ensure they run well on embroidery machines.
Experience like this builds trust and reliability in embroidery work.
Keep Learning and Improving
Embroidery technology keeps growing.
New tools and software appear each year.
Learning new methods helps improve design quality.
Try to:
Study stitch patterns
Practice digitizing basics
Test different fabrics
The more you learn, the better your designs will look.
Trusted providers like Embroidery Digitizing Services in USA – Digitizing Buddy also share helpful guidance and support for embroidery users who want better results.
Final Thoughts
Making embroidery designs work smoothly on Babylock machines is not hard when you follow the right steps.
Start with a clean image.
Use the correct file format.
Control stitch density and path.
Match the design with the fabric.
Always test before final stitching.
These small steps make a big difference.
With the right preparation, your Babylock machine can create clean, sharp, and beautiful embroidery designs. Good planning and smart digitizing will save time, reduce errors, and help every design stitch the way it should.